ISO 9001:2015 Certified Company
 ISI certified IS: 4985, IS: 9537
How to Make a Cheap Do-It-Yourself Drip Irrigation System Using PVC
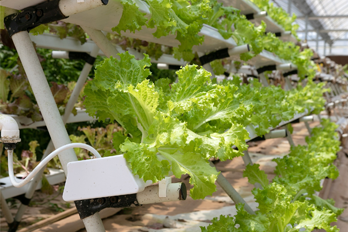
It’s time-consuming when you have to keep watering the garden and ensure the plants get sufficient water to grow throughout. Imagine yourself getting dragged with the hose in your hands, walking for hours around the garden, and watering the plants! However, a PVC-enabled drip irrigation system could be a game-changer— it not only saves water but also helps you save money on developing an irrigation setup. This blog tells you how to build a PVC Drip irrigation system for your garden that helps you stay away from weeds and grow the best plants with the least water bill.
How to make a PVC Drip Irrigation System?
Before discussing the steps to make a DIY PVC Drip Irrigation System, let’s understand the things you would need to build it.

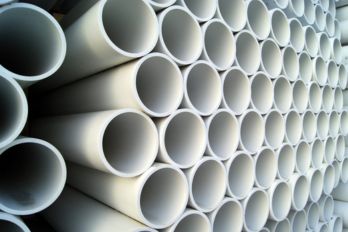
- PVC Pipes (¾ inch)
- Fittings for the PVC pipes like coupling parts, plugs, three-sided tees, and elbows.
- Hose or PVC pipe connectors
- Adhesives
- Sprayer Nozzle
- Valves, mainline, and timers (if required)
- Measuring Tape
- Drill ( with drill bits of ⅙ inch and ⅛ inch size)
Now that you are ready with all the required materials for your DIY drip irrigation system using PVC, let us understand the process in detail.
1. Measure the beds
You need to measure the garden beds to know how much PVC pipe you require. You likely require more than a single PVC pipe row for each bed. 2-3 rows of pipe can be ideal for a 4-foot bed; however, you should also consider the measurement based on the type of crop you add to the bed for the DIY drip irrigation system. Ensure that the rows of pipe stretch up to the length of the garden bed.
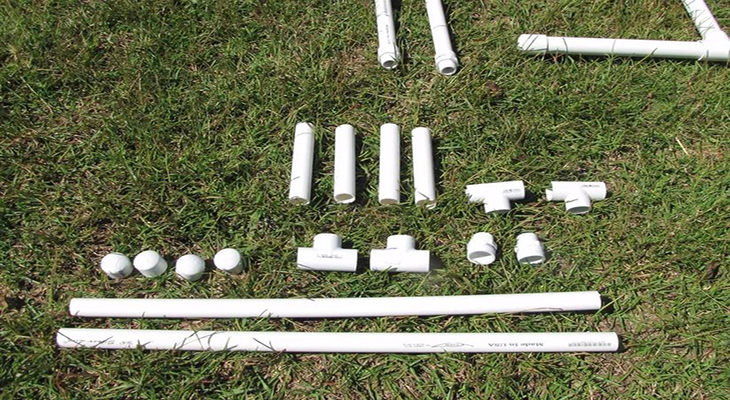
2. Get the PVC Pipe and Fittings

Remember, the size of the PVC pipe should be ¾ inch. Make sure you have all the necessary PVC fittings mentioned in the above checklist ready to assemble the watering system and get the water flowing uninterruptedly throughout the garden. Start the work and secure the PVC pipe against sunlight if the watering system doesn’t lie below ground level.
3. Drill holes in your PVC Pipe

Prepare a rough map of the location of the plantings and the drip irrigation pipings on your garden bed. Drill holes at spaced intervals in your PVC pipe. The position and the size of the holes you need can differ based on the crop you wish to plant and its water requirements. Generally speaking, row crops would need 1/16 inch holes, while the big crops need ⅛ inch holes.
4. Assemble the system

You can assemble the Do-It-Yourself PVC watering system with pipes and fittings based on the layout of the bed, size, and design in your blueprint. Connect the end plugs to the end of every PVC length that extends throughout the bed. To maintain a durable connection between the pipes, you can use PVC-specific adhesives.
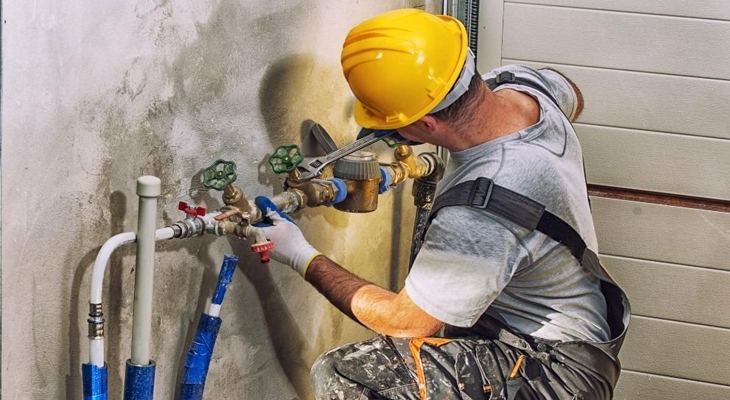
5. Incorporate water connection to the system

The easiest way to include water in the system is to link the hose to the PVC pipe of each bed with a connector. This enables watering one bed at a time. You can also go for a mainline that gets connected to the entire PVC pipe system with valves at every bed, where you will be able to monitor and control which beds get water at a specific time. Once you’re done setting, you can let water flow through the system and it starts dripping through PVC systems. You may now soak the plants gently, and make sure you place them without spraying them out or damaging the crops.
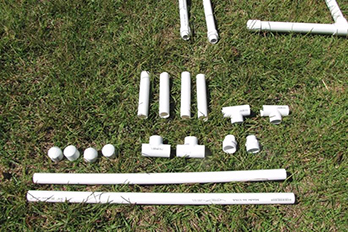
This would be the final look of the DIY PVC drip irrigation system you can check out:

Once everything goes well, you’ve now successfully installed your drip irrigation system. This makes the routine watering of your garden easier than ever. The major advantage is that this setup is highly flexible, you can add, remove, or replace the parts as needed. You may also expand the PVC watering system with the garden getting bigger. You can source the most reliable and budget-friendly PVC pipes from the best PVC pipe manufacturers, to make your irrigation system highly durable.