ISO 9001:2015 Certified Company
 ISI certified IS: 4985, IS: 9537

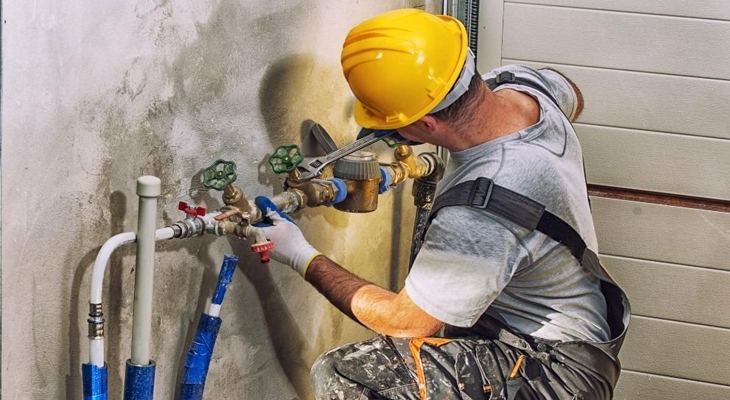
Tips for Proper Installation and Maintenance of PVC pipes
Water leaks and malfunctioned sinks are common sights while using a busted PVC pipe. To get the sink to run smoothly, timely repair and the right installation of PVC pipes are essential.
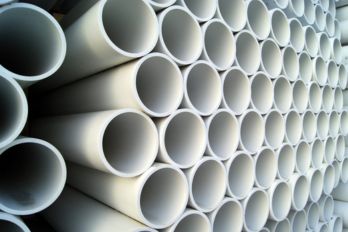
Polyvinyl chloride pipes or PVC pipes are popular for their lightweight, and durability which makes them sustainable solutions for applications like plumbing, sewage, irrigation, etc. PVC pipes get connected with two elements: couplings and solvent cement.
The solvent cement melts along the surface of the pipe and bonds the material. Read further to gather knowledge on the appropriate installation and maintenance of PVC pipes in detail.
Major reasons for PVC leaks
Inappropriate installation
When the PVC fitting is not done properly in the connected pipe, it can result in leaks. A loose pipe fitting fails to secure water, causing it to seep through.
Choice of the wrong Adhesive
Make sure you use adequate PVC cement to eliminate premature damage. Before choosing glue, check whether the label shows it adheres to PVC. Even if you choose the right glue, it can damage with use and needs repair.
Freezing temperature
Though the PVC exhibits resistance to freezing, it still exhibits the capability of being damaged during extreme winter conditions. If you reside in an area of cold temperatures, you should insulate the popes to avoid freezing.
Methods to Repair the Damaged PVC Pipes
Here are the best ways to maintain or replace PVC pipes.
- Fiberglass Resin Tape
If you are searching for a temporary maintenance solution for the leakage in PVC pipe, the resin tape will reduce the damage. With fiberglass tape, you can use a water-activated resin that thickens around the pipe to slow the extent of leakage. Before you apply the tape to the pipe, wipe the damaged area with a damp cloth/rag. While it remains wet, wrap the tape over the area of damage. Allow the resin to become hard for 15 minutes.
- Fiberglass Resin Cloth
This is useful for a permanent repair mechanism. Similar to resin tape maintenance, begin with cleaning the area that surrounds the damage or leak. Then sand the surface slowly to develop a great adhesive area. Place the resin cloth over the damaged area. To begin curing the resin, let the UV light shine directly to the pipe, or bring the pipe section outside to the sunlight directly.
- Epoxy
Repair epoxy refers to the putty or viscous liquid that you can use for repairing PVC pipe leaks and problems in the joints. Repairing the pipes and joints with epoxy needs effective cleaning and drying of the affected area, to make sure the water doesn’t reach the area affected. After adding the putty and letting the epoxy cure for 10 minutes, allow water to pass through the pipe and check for leaks.
- Rubber & Silicone Tape
When you handle a minor leak, you can use rubber and silicone tape for repair. Similar to the fiberglass tape, this comes in a roll you can wrap around the PVC pipe directly. But, instead of sticking to the pipe, the tape sticks around to itself. To fix the damage, you can wrap the tape across the leak, covering a bit to both sides of the affected area. The tape adopts compression to solve the leak to make sure the wrap stays tight and safe for use.
- Hose Clamps and Rubber Tape
Similar to the silicone repair tape, this repair technique involves a compression method to repair the small leakage problem with the PVC pipes. Rap rubber across the affected area unwind The hose clamps and keep them over the affected part. Tighten them too slowly or completely to stop the leakage. This is a temporary fix method since it might become ineffective. With the increase in leakage.
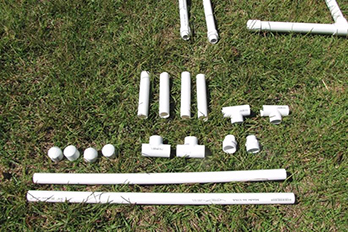
- Replacement Method
When a PVC pipe is too damaged and can’t get fixed with a simple repair, you need to replace it with a new PVC pipe. Ensure first that the water coming to the pipe is switched off. You can use a water shut-off switch or turn off the water from the main power supply to do this.
- Use a ratchet cutter or a hacksaw to cut the pipe to almost one inch to either side of the damaged area.
- Let the excess water seep out of the pipe and dry it using a clean cloth.
- Once the damaged PVC pipe is at a cut distance, dry-fit the pipe in a hole. Make sure the pipe fitting is secured appropriately across the existing PVC system.
- Apply the primer solvent within the fittings of the replacement pipe and also to the outside part of the existing pipe.
- Fill glue to the existing pipe and inside the replacement fitting.
- Add the existing pipe to the replacement fittings with a twisting motion to safeguard the pipe using glue. Hold the pipe tight for 10 seconds to keep a strong bond.
Wrap Up
When you consider the leakage in PVC pipes, it’s essential to get the job done right away since it can cause huge loss of water. Installation of PVC pipes is an easy task, but you need to take caution to make sure it gets completed safely. Timely maintenance and replacement of PVC pipes can let you avoid substantial damage to the pipes, thereby ensuring their durability.